 PostGIS
 Mobile
 QGIS
QGIS MapBender
 GeoServer
 GeoNode
 GeoNetwork
 Solutions


226 lines
4.2 KiB
ReStructuredText
226 lines
4.2 KiB
ReStructuredText
.. This is a comment. Note how any initial comments are moved by
|
|
transforms to after the document title, subtitle, and docinfo.
|
|
|
|
.. demo.rst from: http://docutils.sourceforge.net/docs/user/rst/demo.txt
|
|
|
|
.. |EXAMPLE| image:: static/yi_jing_01_chien.jpg
|
|
:width: 1em
|
|
|
|
**********************
|
|
Dashboards
|
|
**********************
|
|
.. contents:: Table of Contents
|
|
Overview
|
|
==================
|
|
|
|
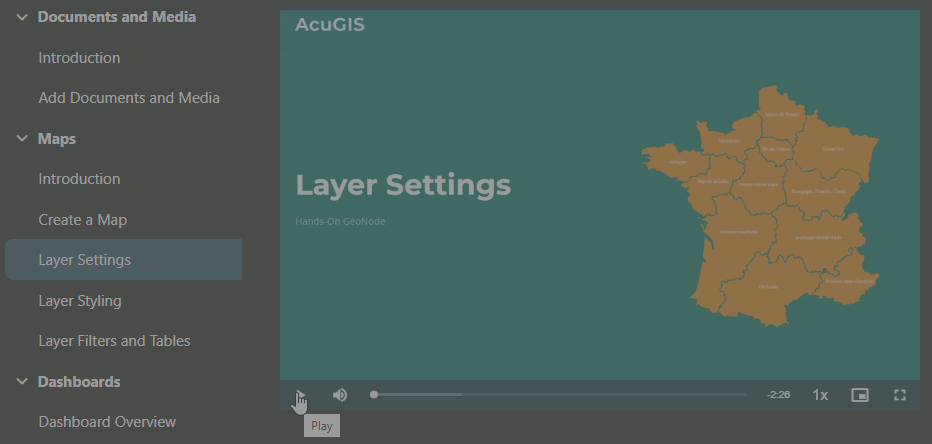
Dashboards contain a Map widget along with Chart, Table, Counter, and HTML widgets.
|
|
|
|
When creating a Dashboard, be sure to use the Toggle function in order to see full width
|
|
|
|
.. image:: ../../_static/GeoLite-Dashboard-24.png
|
|
|
|
|
|
Create Dashboard
|
|
================
|
|
|
|
To add a new Map, go to Add Resource > Dashboard
|
|
|
|
.. image:: ../../_static/GeoLite-Dashboard-1.png
|
|
|
|
Map Widget
|
|
=========================
|
|
|
|
Click on Map to add a Map widget
|
|
|
|
.. image:: ../../_static/GeoLite-Dashboard-2.png
|
|
|
|
Click the Configure button
|
|
|
|
.. image:: ../../_static/GeoLite-Dashboard-3.png
|
|
|
|
Give your map a Title, select a basemap, and select the Layer(s) you wish to use
|
|
|
|
Click Save
|
|
|
|
.. image:: ../../_static/GeoLite-Dashboard-4.png
|
|
|
|
Position your map to where you would like it on page load
|
|
|
|
.. image:: ../../_static/GeoLite-Dashboard-5.png
|
|
|
|
If you wish to add Filters to map, click Configure.
|
|
|
|
Add any Filters you wish to add.
|
|
|
|
.. image:: ../../_static/GeoLite-Dashboard-7.png
|
|
|
|
Chart Widget
|
|
=========================
|
|
|
|
Click Chart to add a Chart widget
|
|
|
|
.. image:: ../../_static/GeoLite-Dashboard-8.png
|
|
|
|
Click the configure button
|
|
|
|
.. image:: ../../_static/GeoLite-Dashboard-9.png
|
|
|
|
Select/Enter the following value:
|
|
|
|
- Title
|
|
- Chart Type
|
|
- Show Grid
|
|
- Chart Color Scheme
|
|
- Data Layer (GeoServer Layer)
|
|
- Series Label
|
|
- Aggragation (Sum, Count)
|
|
- Enable Second Series
|
|
- X Value
|
|
- Y Value
|
|
|
|
Click Save
|
|
|
|
.. image:: ../../_static/GeoLite-Dashboard-10.png
|
|
|
|
The Chart has now been created
|
|
|
|
.. image:: ../../_static/GeoLite-Dashboard-11.png
|
|
|
|
To add a Second Series, set Enable Second Series to Yes (Only for Bar and Area Charts)
|
|
|
|
.. image:: ../../_static/GeoLite-Dashboard-13.png
|
|
|
|
Select Second Series X and Y and label
|
|
|
|
.. image:: ../../_static/GeoLite-Dashboard-14.png
|
|
|
|
The Chart has now been created.
|
|
|
|
.. image:: ../../_static/GeoLite-Dashboard-15.png
|
|
|
|
|
|
Data Tables
|
|
================
|
|
|
|
Click on the Table widget
|
|
|
|
.. image:: ../../_static/GeoLite-Dashboard-16.png
|
|
|
|
Click the configure button
|
|
|
|
.. image:: ../../_static/GeoLite-Dashboard-17.png
|
|
|
|
Enter a title, and select data layer and column(s)
|
|
|
|
Note that column order can be set by dragging columns up or down
|
|
|
|
.. image:: ../../_static/GeoLite-Dashboard-18.png
|
|
|
|
Data Tabls has been created
|
|
|
|
.. image:: ../../_static/GeoLite-Dashboard-19.png
|
|
|
|
|
|
|
|
|
|
|
|
|
|
|
|
|
|
Counter
|
|
================
|
|
|
|
Click the Counter widet
|
|
|
|
.. image:: ../../_static/GeoLite-Dashboard-20.png
|
|
|
|
Click the Configure button
|
|
|
|
.. image:: ../../_static/GeoLite-Dashboard-21.png
|
|
|
|
Enter a title, select a data layer and operation (Count, Sum, etc..) and Field
|
|
|
|
.. image:: ../../_static/GeoLite-Dashboard-22.png
|
|
|
|
The Counter has been added
|
|
|
|
.. image:: ../../_static/GeoLite-Dashboard-23.png
|
|
|
|
|
|
HTML
|
|
================
|
|
|
|
Click on the HTML widget
|
|
|
|
.. image:: ../../_static/GeoLite-Dashboard-25.png
|
|
|
|
Click the Configure button
|
|
|
|
.. image:: ../../_static/GeoLite-Dashboard-26.png
|
|
|
|
Add and style your HTML content
|
|
|
|
.. image:: ../../_static/GeoLite-Dashboard-27.png
|
|
|
|
Click save
|
|
|
|
Your HTML widget has been added
|
|
|
|
|
|
Save Dashboard
|
|
======================
|
|
|
|
When ready click the Save button at top left
|
|
|
|
.. image:: ../../_static/GeoLite-Dashboard-28.png
|
|
|
|
Give your Dashboard a Title, Description, and (optionally) select a Category
|
|
|
|
.. image:: ../../_static/GeoLite-Dashboard-29.png
|
|
|
|
|
|
Dashboard Thumbnail
|
|
=====================
|
|
|
|
To set a thumbnail for the Dashboard, select Thumbnail on the menu
|
|
|
|
.. image:: ../../_static/GeoLite-Dashboard-30.png
|
|
|
|
Browse to image you wish to use
|
|
|
|
.. image:: ../../_static/GeoLite-Dashboard-31.png
|
|
|
|
Click Upload
|
|
|
|
.. image:: ../../_static/GeoLite-Dashboard-32.png
|
|
|
|
Your thumbnail has now been set
|
|
|
|
.. image:: ../../_static/GeoLite-Dashboard-33.png
|
|
|
|
Edit Dashboard
|
|
=====================
|
|
|
|
To edit a Dashboard, click the edit link
|
|
|
|
Make any changes or updates, making sure to click Save as you go
|
|
|
|
|
|
|
|
Delete Dashboard
|
|
===================
|
|
|
|
To delete a Map, click the delete icon
|
|
|
|
|
|
|
|
|
|
|
|
|
|
|
|
|
|
|
|
|
|
|
|
|
