 PostGIS
 Mobile
 QGIS
QGIS MapBender
 GeoServer
 GeoNode
 GeoNetwork
 Solutions


55 lines
1.4 KiB
ReStructuredText
55 lines
1.4 KiB
ReStructuredText
Maps
|
|
=====
|
|
|
|
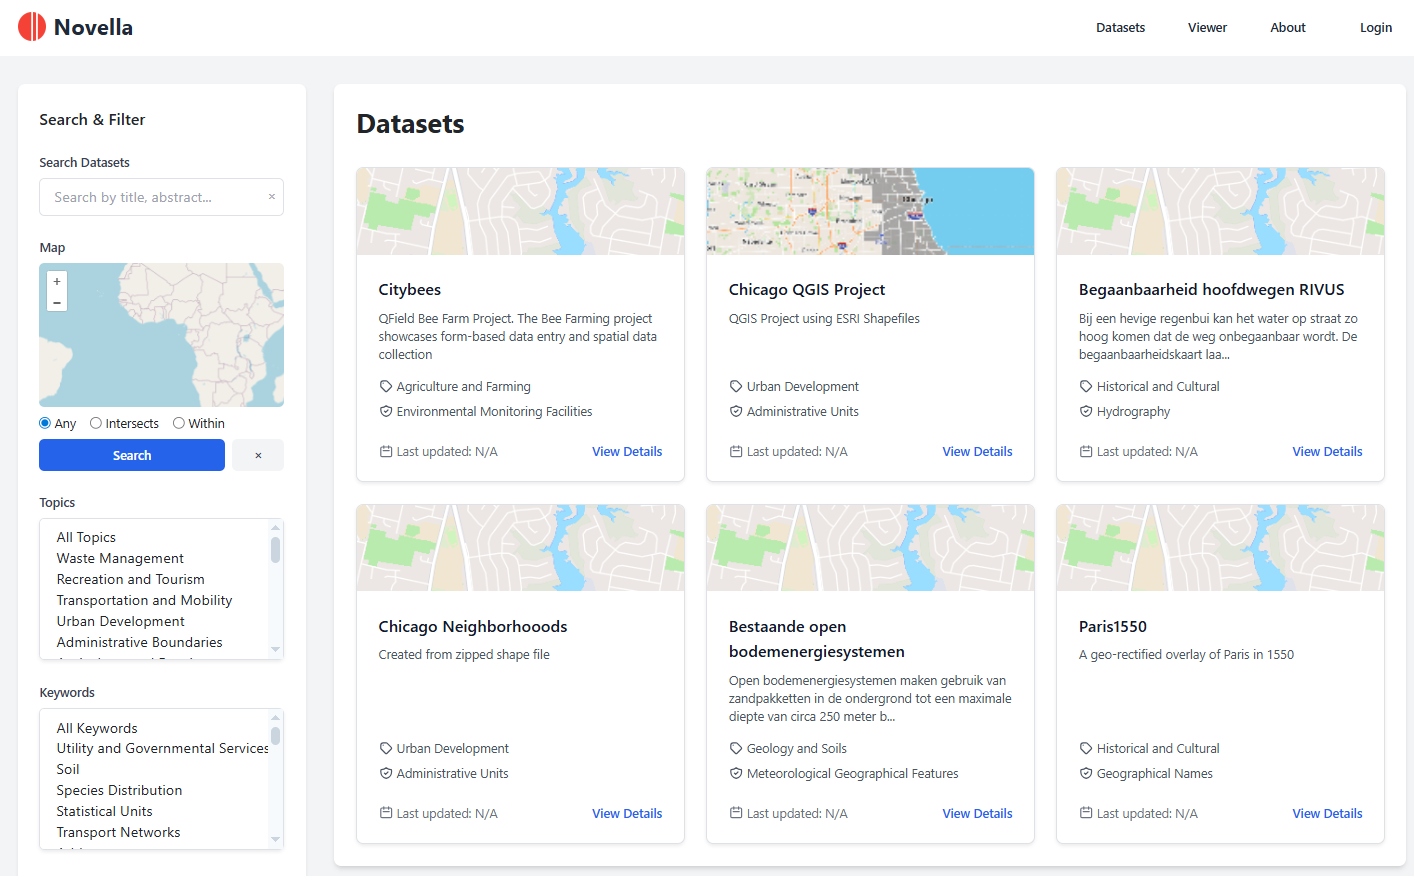
The Maps page allows you to create and edit Maps.
|
|
|
|
Create Map
|
|
------------
|
|
|
|
To create a Map, click on "Manage Maps" in the left menu.
|
|
|
|
.. image:: images/Manage-Maps-1.png
|
|
|
|
Click Add New Map button
|
|
|
|
.. image:: images/Manage-Maps-2.png
|
|
|
|
In the Basic Information section, give your Map a name and description.
|
|
|
|
In the QWC2 Configuration section, select the Tenant and Theme (QGIS Project)
|
|
|
|
.. image:: images/Manage-Maps-3.png
|
|
|
|
In the Thumbnail section, select a thumbnail (or use the default thumbnail).
|
|
|
|
In the Security section, select if Map is Public or Group(s) that should have access
|
|
|
|
Click Create Map
|
|
|
|
.. image:: images/Manage-Maps-4.png
|
|
|
|
Your Map has now been added to the Dashboard
|
|
|
|
|
|
.. image:: images/Manage-Maps-5.png
|
|
|
|
|
|
About Security
|
|
--------------
|
|
|
|
Maps can be Private or Public.
|
|
|
|
The Security section is where you assign permissions to your map.
|
|
|
|
Remember: Security is Group based, so any users belonging to the Group will be able to view the map.
|
|
|
|
Private maps can be viewed by the user logging into your map portal.
|
|
|
|
For example, since we gave access to the Group containing user Jane Doe, when she logs in she will see only the two maps she has permissions to all Maps for the Group(s) she is a member of.
|
|
|
|
You can also tick the “Public” box to make your map public.
|
|
|
|
If your map is “Public”, it is accessible via direct link by anyone.
|
|
|
|
|
