Create a Workspace
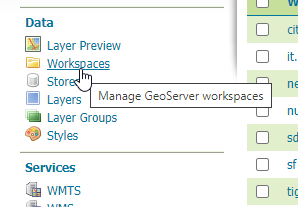
1. On the left menu, in the Data section, click on ‘Workspaces’

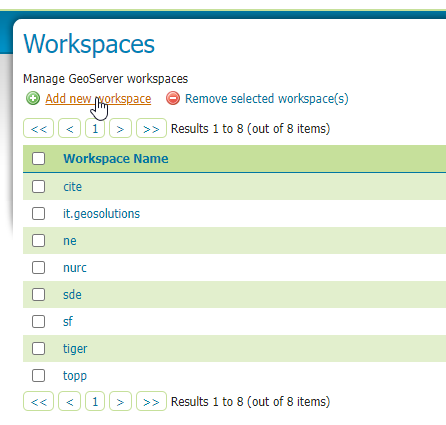
2. Click the “Add New Workspace” link
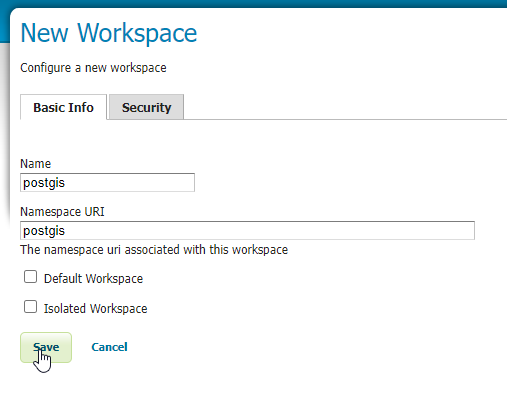
3. For both the name and namespace uri, enter ‘postgis’
4. Click the Security tab
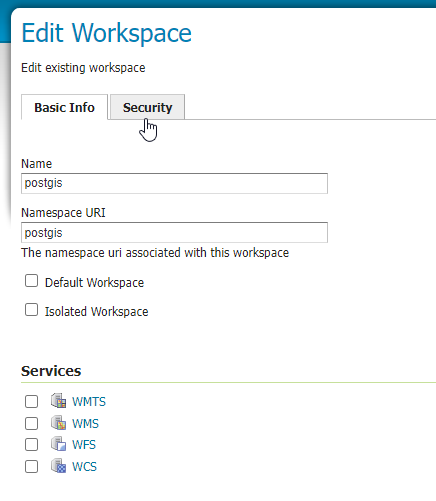
5. Check the “Grant access to any role” checkbox
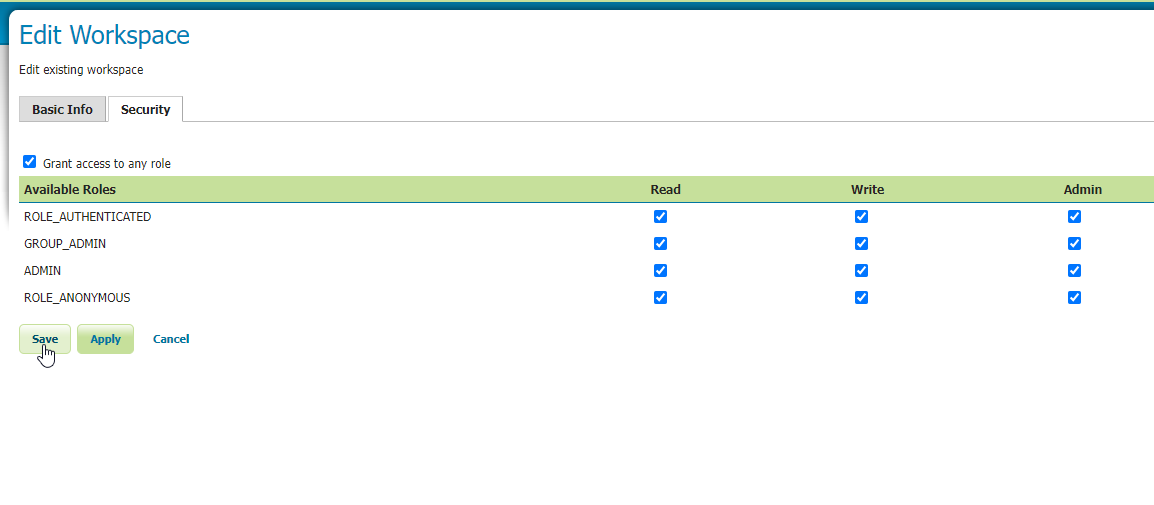
6. Click the “Save” button.
Congradulations - you’ve created a Workspace.