Create Store
Table of Contents
Credentials
In order to create a PostGIS store, we’ll need a PostgreSQL username and password.
We’ll use the geodb database and geouser user we created ealier.
Add Store
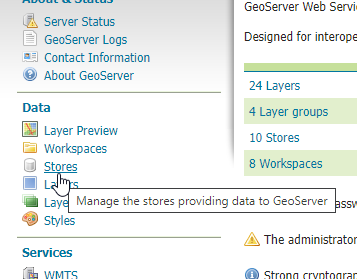
1. On the left menu, click “Stores”

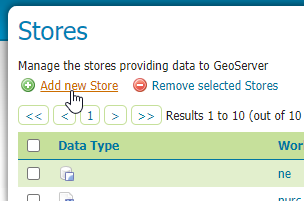
2. Click the “Add new store” link
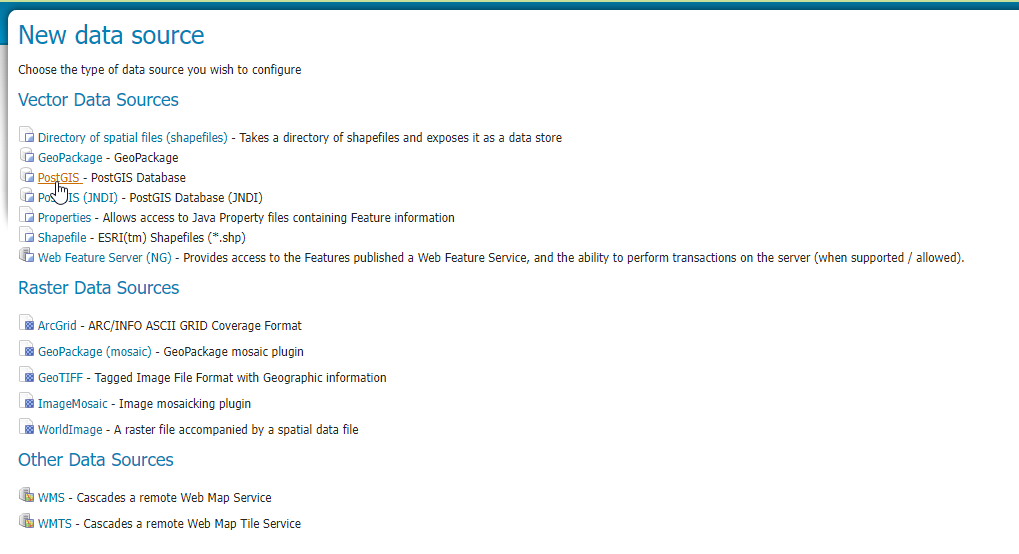
3. Under the Vector Data Store section, click “PostGIS”
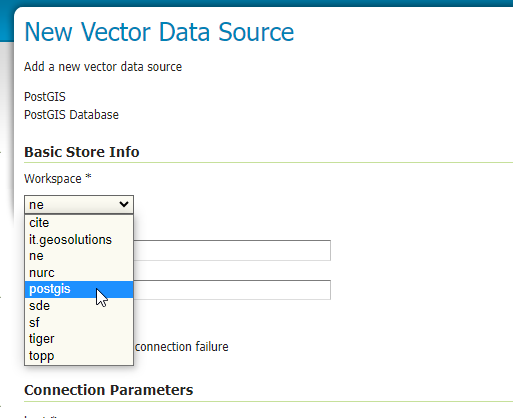
4. In the Workspace dropdown, selection the postgis workspace we created earlier:
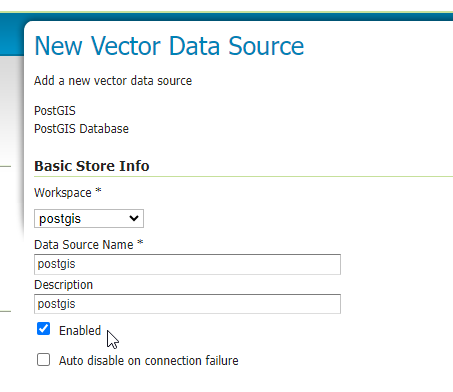
5. In the name and description fields, enter ‘postgis’
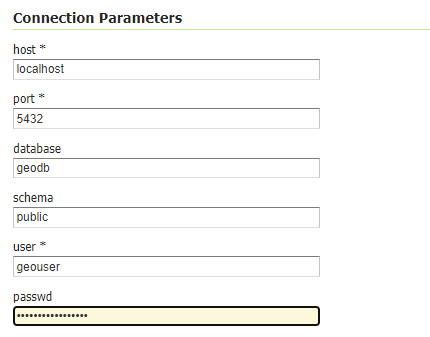
6. In the Connection Parameters section, enter the information for the geodb database and geouser user:
7. Click the Save button.
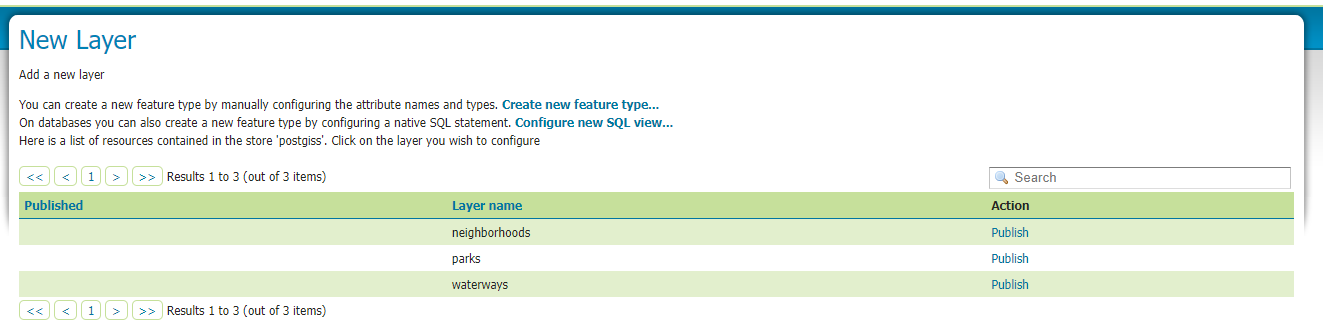
Note: clicking Save will direct you to the Layers available for the store. You can publish the layers at this point, but we will do so in next section “Add a Layer”